
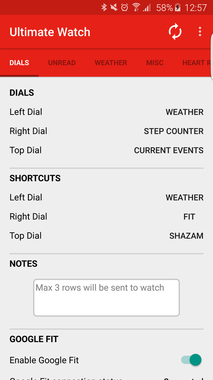
Dials tabDIALS
SHORTCUTS
NOTES
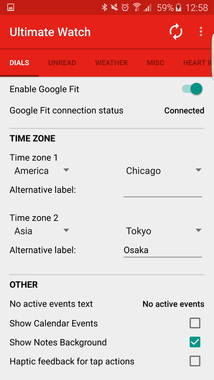
GOOGLE FIT
TIME ZONE
OTHER
|
|
|
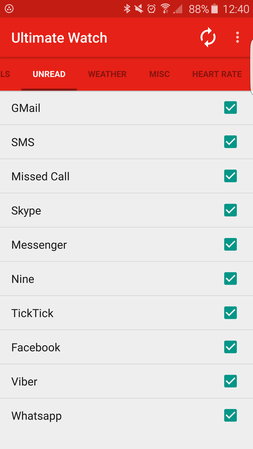
Unread tab
|
|
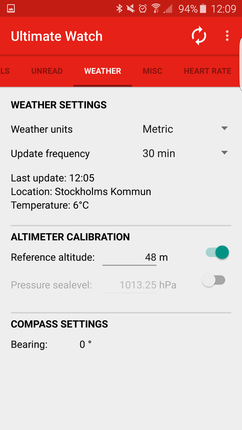
Weather tabWEATHER SETTINGS
ALTIMETER CALIBRATION
COMPASS SETTINGS
|
|
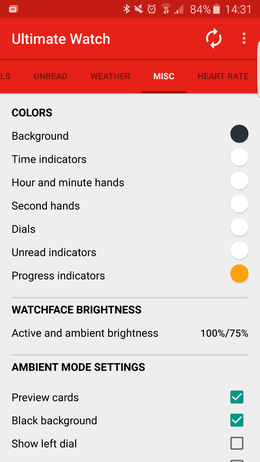
Miscellaneous tabCOLORS
WATCHFACE BRIGHTNESS
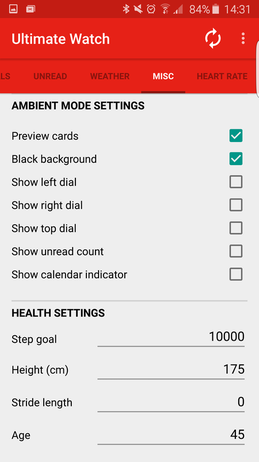
AMBIENT MODE SETTINGS
HEALTH SETTINGS
|
|
|
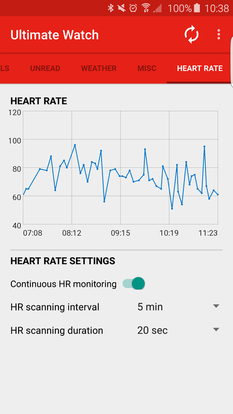
Heart Rate tabHEART RATE
HEART RATE SETTINGS
|
|